Upload Your Store Order
After you create your exceptions, you can create the release. In Route Optimization, a release is a consolidated store order file.
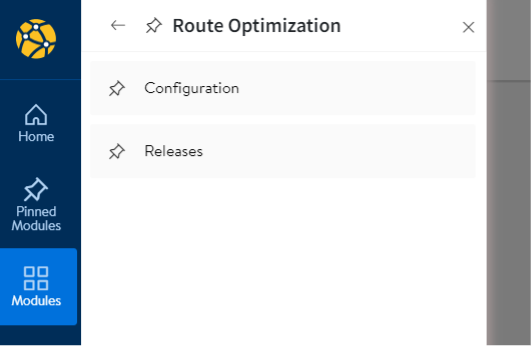
Select the DC and time
-
Click Modules, and then Releases.

-
In DCs, click the down-arrow and select your DC.
-
(Optional) Click the down-arrow next to Time, and then select the time interval.
NOTE
You can select a custom interval or an interval of 24, 36, or 48 hours. The best practice for Transportation Planners is to select 24 hours.
Upload your store order files
-
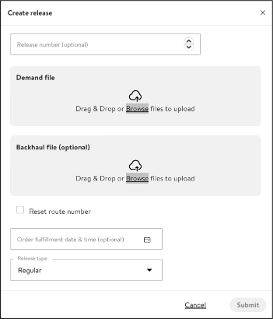
Click Create Release.

You can upload your store order file and any backhaul files in the Create release window.
-
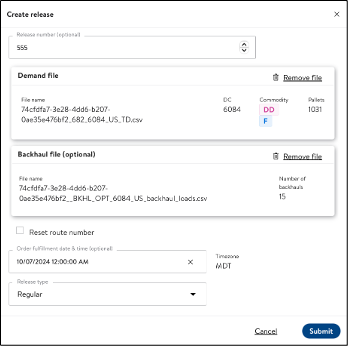
(Optional) in Release number, enter the number of the release.
-
In Demand file, click Browse, and then select the store order file you want to upload.
-
(Optional) Upload the backhaul file. In Backhaul file, click Browse, and select the backhaul file you want to upload.
-
(Optional) In Order fulfillment date & time, click the calendar icon and specify the date and time by which the order must be fulfilled. Confirm that the time zone is correct.
-
(Optional) In Release type, select Regular.
-
Click Submit.

The success message includes the release ID and the DC.
Monitor job status
You can monitor job status from the Release Dashboard. When processing is underway, the job status is Optimizing.
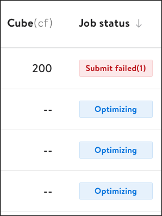
When processing is complete, the status changes to Awaiting review.
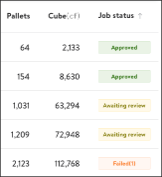
Next, you can review and publish the optimization.
-
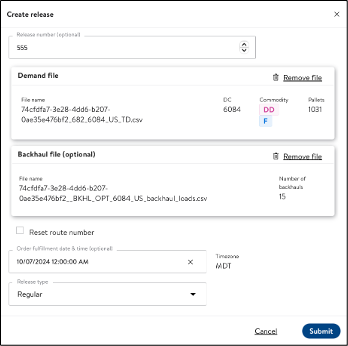
Click Create Release.

You can upload your store order file and any backhaul files in the Create release window.

-
(Optional) in Release number, enter the number of the release.
-
In Demand file, click Browse, and then select the store order file you want to upload.
-
(Optional) Upload the backhaul file. In Backhaul file, click Browse, and select the backhaul file you want to upload.
-
(Optional) In Order fulfillment date & time, click the calendar icon and specify the date and time by which the order must be fulfilled. Confirm that the time zone is correct.
-
(Optional) In Release type, select Regular.
-
Click Submit.

The success message includes the release ID and the DC.
Monitor job status
You can monitor job status from the Release Dashboard. When processing is underway, the job status is Optimizing.

When processing is complete, the status changes to Awaiting review.

Next, you can review and publish the optimization.
-
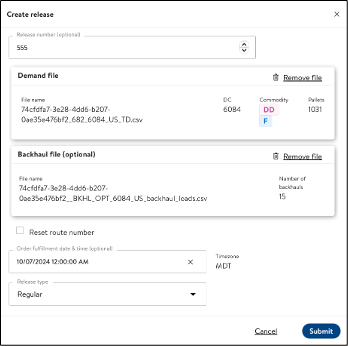
Click Create Release.

-
Upload your store order file and any backhaul files in the Create release window.

-
(Optional) In Release number, enter the number of the release.
-
In Demand file, click Browse, and then select the store order file you want to upload.
-
(Optional) Upload the backhaul file. In Backhaul file, click Browse, and select the backhaul file you want to upload.
-
(Optional) In Order fulfillment date & time, click the calendar icon and specify the date and time by which the order must be fulfilled. Confirm that the time zone is correct.
-
(Optional) In Release type, select Regular.
-
Click Submit.

The success message includes the release ID and the DC.
Monitor job status
You can monitor job status from the Release Dashboard. When processing is underway, the job status is Optimizing.
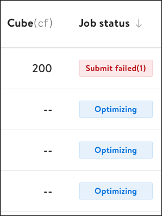
When processing is complete, the status changes to Awaiting review.
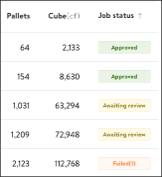
Next, you can review and publish the optimization.
Updated 11 months ago
