Client Center Administration for Marketplace Orders Hub
This document explains how to manage Marketplace Orders Hub orders, stores, and catalogs from Walmart Client Center. This document also explains how client administrators can manage client users in Client Center.
This guide provides an introduction to Marketplace Orders Hub features for managing orders, stores, and catalogs. This guide also explains how client administrators can manage client users in Walmart Client Center (“Client Center”). You can use this guide for future planning.
Marketplace Orders Hub (“Hub”) provides access to Client Center for select management and administration tasks. Walmart Client Center is a Fulfillment as a Service (FaaS) provider module for Walmart services.
Before you begin
Whether you are a client administrator or a user, you receive an email that provides user information. You’ll need to have this email on hand.
- Client administrators receive an email that provides information about a new user.
- Client users receive an email that provides their username and asks them to reset the temporary password that was created for them for Client Center.
Sign in to Walmart Client Center
You can sign in to Walmart Client Center from the GSCOPE Sign-in page at https://gscope.walmartlabs.com/.

Figure 1. The GSCOPE Sign-in page
To sign in to Walmart Client Center
-
Go to the GSCOPE Sign-in page at https://gscope.walmartlabs.com/
-
Enter your username and password.
-
Click Sign in.
If you cannot access the GSCOPE Sign-in page, contact WCT Support.
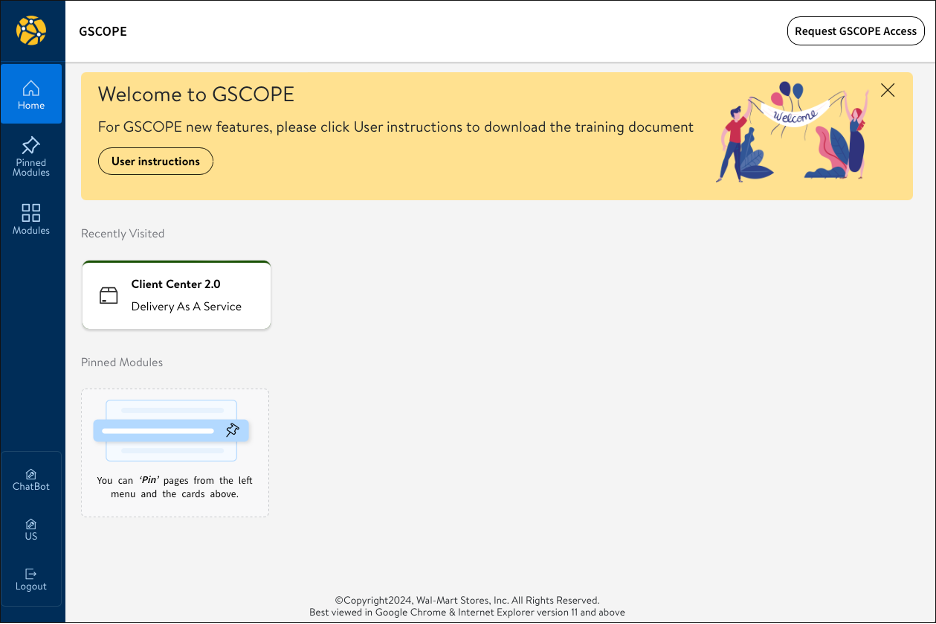
Figure 2. The Client Center tile on the GSCOPE Home page
To open Client Center
- Click the Client Center tile.

Figure 3. The Client Center tile
If the Client Center tile is not displayed, click Modules, choose Delivery as a Service, and then select Client Center.
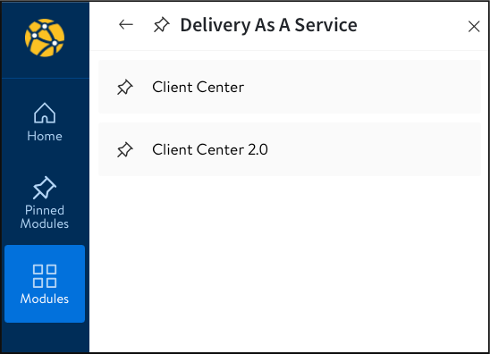
Figure 4. Using the Modules icon to open Client Center
For Help articles on using Walmart Client Center, click the “?” icon.
Add client users
You can add client users from the Users page.
To navigate to the Users page
-
In the Client Center menu bar, click the Modules icon.
-
In the Admin Tools menu, select User Management.
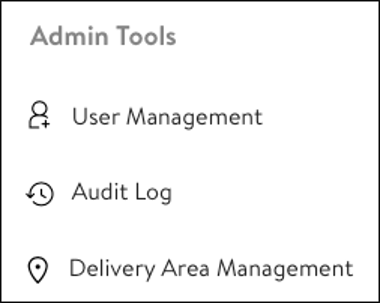
Figure 5. The Admin Tools menu
The Users page provides options for adding client users and displays a list of Client Center users for Marketplace Orders Hub.
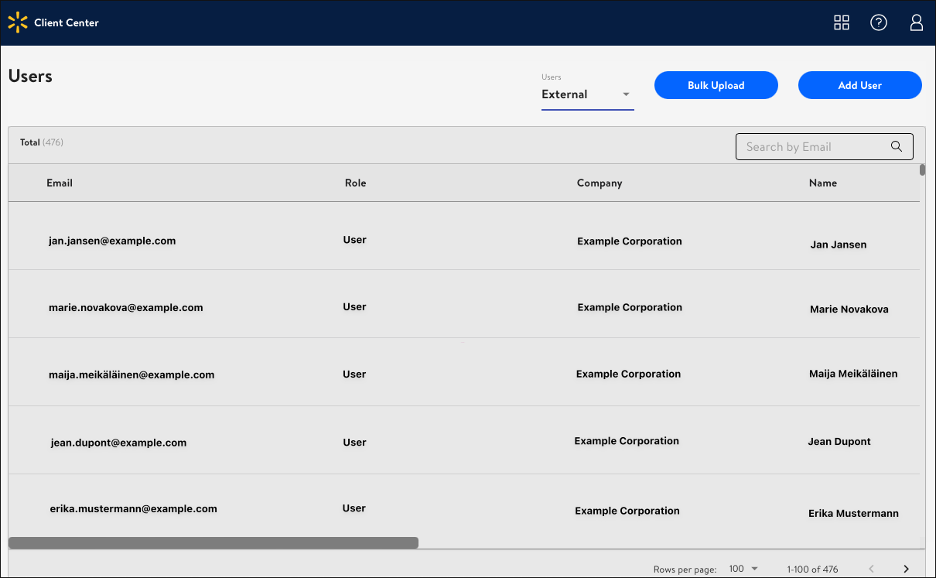
Figure 6. The Users page
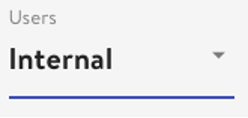
Make sure User type is set to External.

If it is not, click the down-arrow next to Internal and choose External.
You can add users one by one, or in bulk.
Add one client user
To add client users one at a time, click Add User.

Figure 7. To add one user, from the Users page, click Add User
The Add User page provides options to add Client Center users for Walmart or for other clients. Select the Client option.
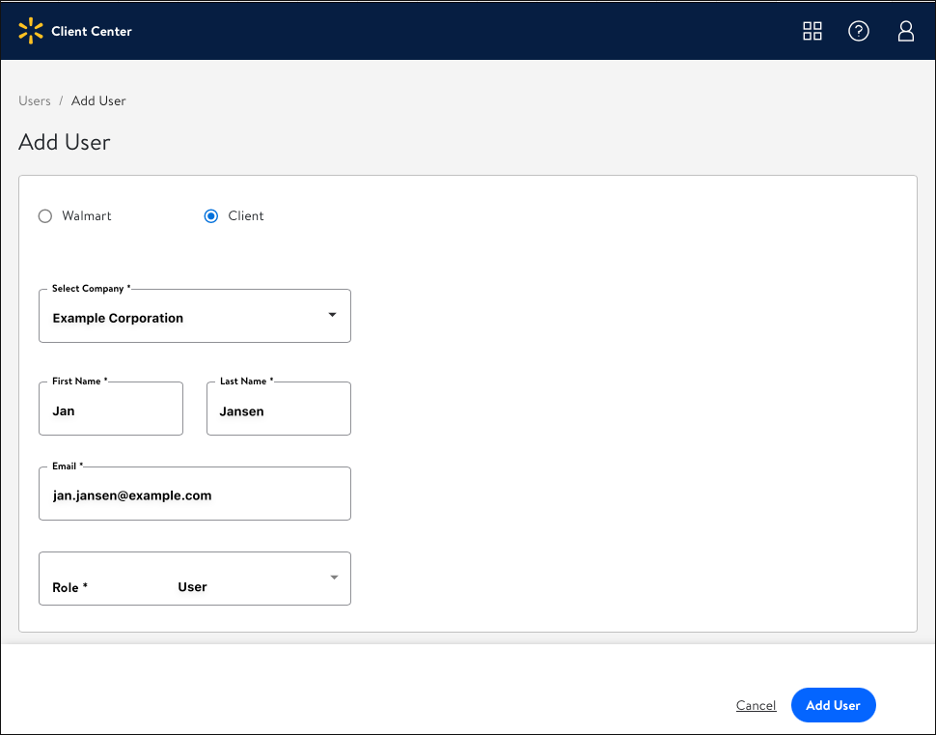
Figure 8. Add clients one by one on the Add User page
To add one user
-
In Add User, select the Client option.
-
Use the email notification of the new user to complete the fields for Company, First Name, Last Name, Email and Role. All the fields are required.
-
Confirm that the user is marked as Active.
-
Click Add User.
Add multiple client users
You can add multiple client users by using a spreadsheet (CSV) file. This section explains how to download a template you can use to create and upload lists of users in the proper format.

Figure 9. User type, management, and bulk upload options on the Users page
To add client users in a “bulk” upload, from the Users page, click Bulk Upload.
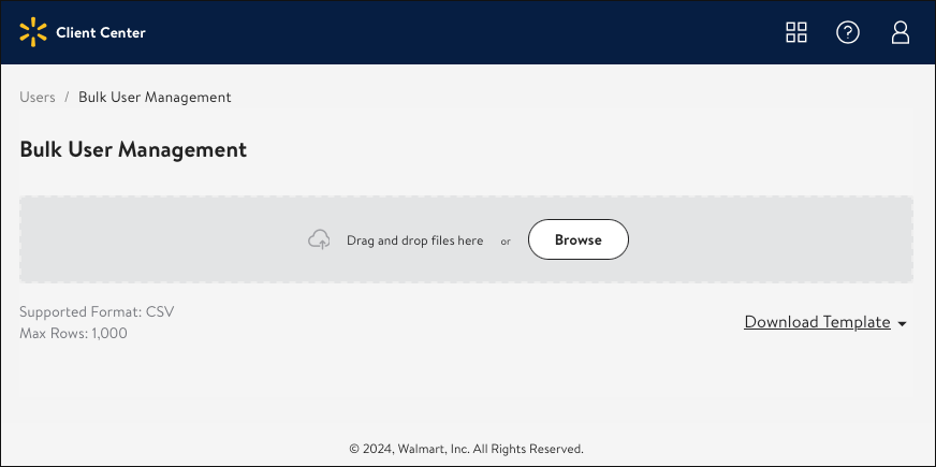
Figure 10. Upload spreadsheet lists of clients to add or remove on the Bulk User Management page
The Bulk User Management page allows you to upload your spreadsheet lists of client users to be added or removed.
To upload a spreadsheet file
- Drag and drop your completed file onto the Bulk User Management page, or
- Click Browse and locate the completed file on your hard drive.
Download templates
The Bulk User Management page provides templates to create spreadsheet lists of client users to be added or removed. To download templates, click Download Template.
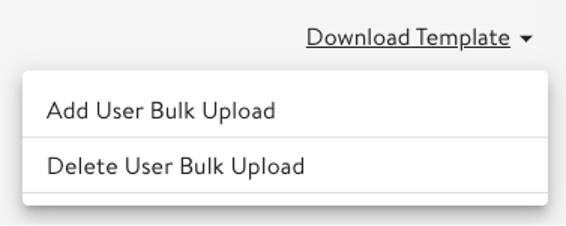
Figure 11. Templates available to add or remove client users in bulk
To add users in bulk, use the adduserstemplate.csv file.

Figure 12. The adduserstemplate.csv file that is used to list unregistered client users for addition
Provide the following information for each user you want to add.
| Column | Description |
|---|---|
| User email | The email address of the user to be added to Client Center. |
| First name | The first name of the user to be added. |
| Last name | The last name of the user to be added. |
| Role | The user role to be assigned to the user in Client Center. |
| Client ID | The Walmart client ID of the employee company. |
| Internal Pickup Point ID | The ID of the associated internal pickup point. |
| External Pickup Point ID | The ID of the associated external pickup point. |
To remove users in bulk, use the deleteuserstemplate.csv file. You can identify the users to be removed by email address.

Figure 13. The deleteuserstemplate.csv file, in which registered client users are listed for removal by email address
Specify one user per line, in the User Email column.
The delete request fails for Client Center users whose email addresses cannot be found in the system. This means that the user email address must already be registered in the system.
Users page
You can verify the addition or deletion of client users on the Users page. To search for a client user, enter the email address in the Search by Email search box.
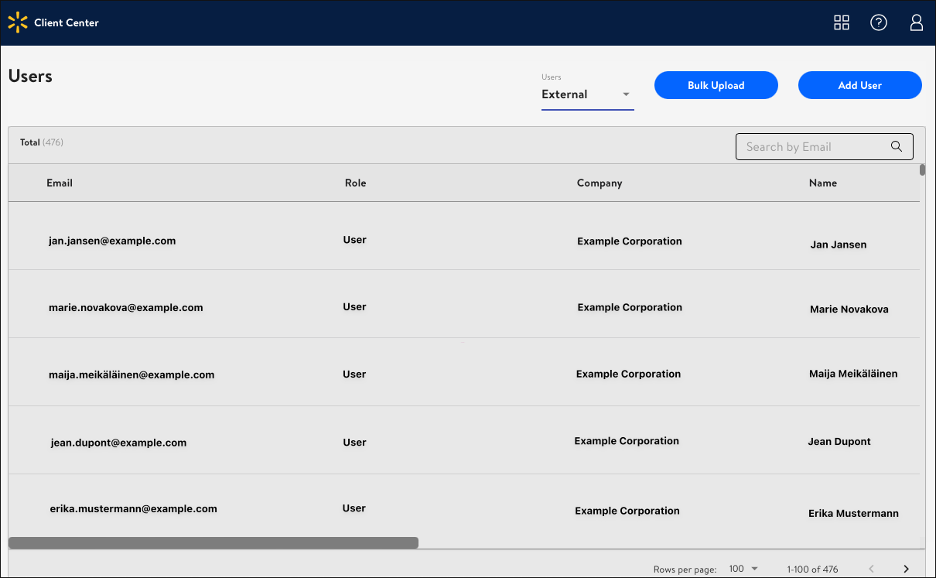
Figure 14. A list of Example Corporation employees assigned the User role in Client Center
User information is contained in the following columns.
| Column | Description |
|---|---|
| The email address of the Client Center user. | |
| Role | The role of the user in Client Center. |
| Company | The company with which the user is associated. |
| Name | The name of the user. |
| Created by | The day and date on which the user was added to Client Center. |
| Modified by | The identifier of the Client Center user that last modified the user record. |
| Created Time | The day and date on which the user record was created. |
| Modified Time | The day and date on which the user record was modified. |
| Status | The active status of the user. Active users have a status of Active. For inactive users, this field is empty. |
Hub management pages
Client Center includes Marketplace Orders Hub information about orders, catalogs and stores. This information is displayed on the following pages:
- Order Management Dashboard
- Catalog
- Store
These pages are enabled based on your user profile. You can find the Hub pages that are enabled for you in the horizontal menu bar.

To navigate to these pages
-
From GSCOPE Home, open Client Center.
-
On the Clients page, find and click the name of the client associated with the account.
-
Select the Marketplace Orders Hub page you want to go to: Order Dashboard, Catalog, or Store.
The following sections introduce the Order Management Dashboard and the Catalog and Store pages.
Order Management Dashboard
The Order Management Dashboard provides detailed information about orders.
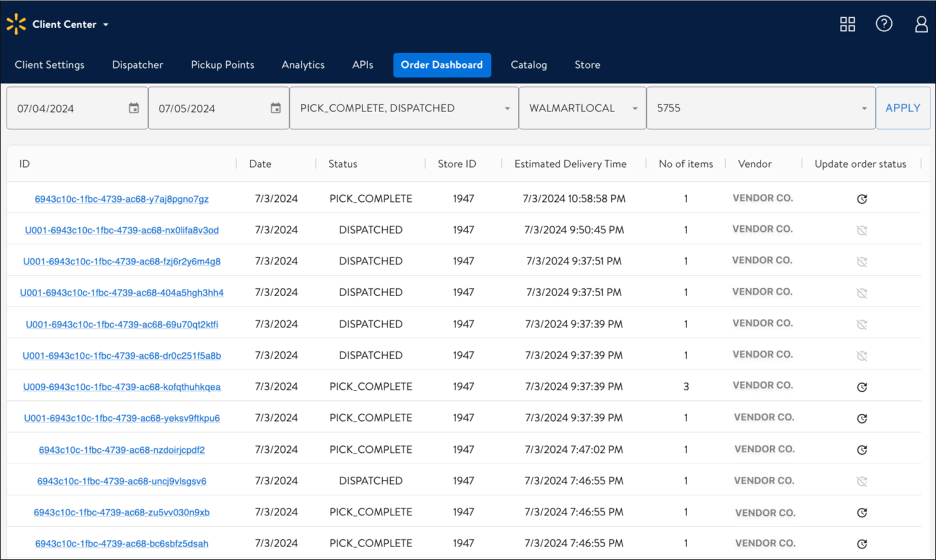
Figure 15. A filtered list of orders by order ID. The list was sorted by date range, status, company, and store ID
Order information is provided in the following columns.
| Column | Description |
|---|---|
| ID | The unique identifier of the order. |
| Date | The date the order was created. |
| Status | The status of the order. |
| Store ID | The ID of the store from which the order originated. |
| Estimated Delivery | The time at which the order is expected to be delivered. This field is used only for orders that are subject to delivery. |
| No. of items | The number of items that the order includes. |
| Vendor | The vendor that will deliver the order. |
| Update order status | Click to obtain the latest order information. |
The dashboard provides options to search for orders by date or date range, based on status or vendor, and based on store ID.

Figure 16. Order sort fields from left to right: Date range, order status, company, and comma-separated store IDs
To search for orders, select your options and click APPLY.
Catalog Management
You can use the catalog management page to upload spreadsheet files to create or modify catalog listings and dynamic attributes.
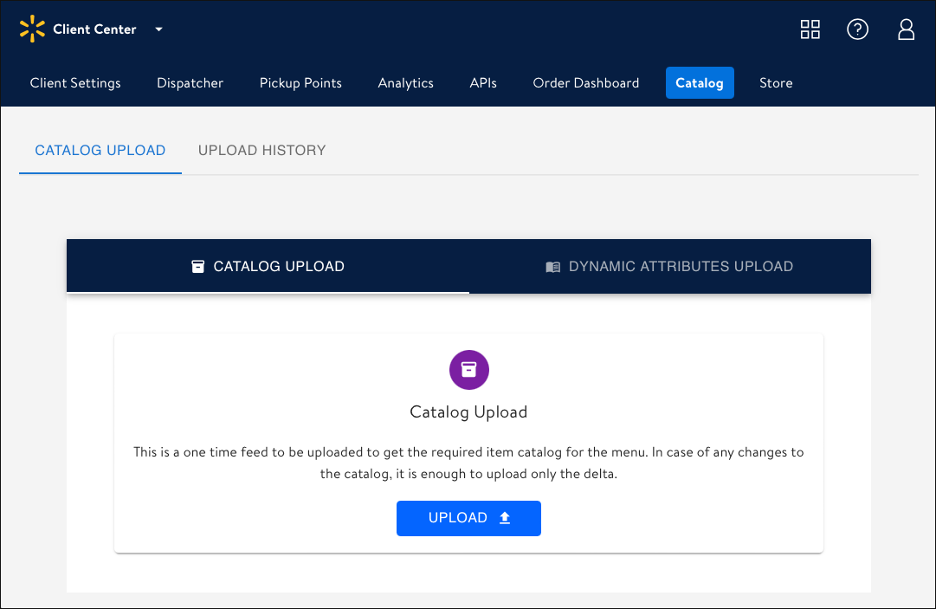
Figure 17. The Catalog Management page provides options to upload catalog or dynamic attributes files, and to review upload history
To upload catalog listings, click CATALOG UPLOAD.

Figure 18. In this view, the CATALOG UPLOAD tab and option are selected
To upload dynamic attributes, click DYNAMIC ATTRIBUTES UPLOAD.

Figure 19. In this view, the DYNAMIC ATTRIBUTES UPLOAD tab and option are selected
Then click UPLOAD and locate the file you want to upload on your hard drive.

The Catalog Management page also provides a history of your file uploads.

Figure 20. This view shows the selection of the UPLOAD HISTORY tab on the Catalog Management page
Store Management
You can use the Store Management page to upload spreadsheet files to create and modify stores.
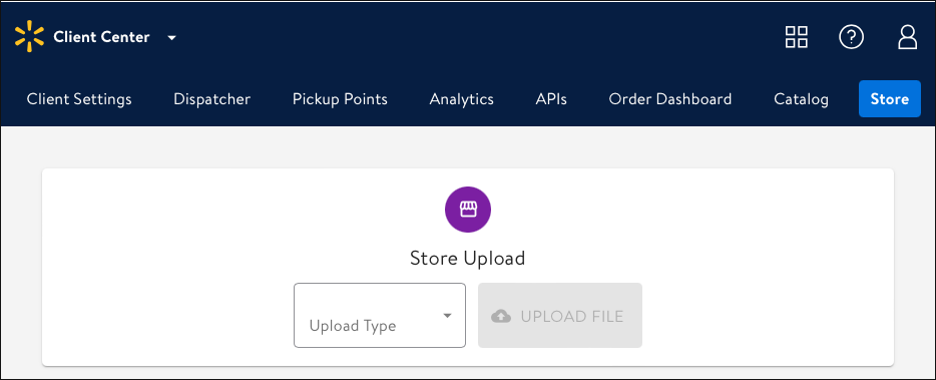
Figure 21. The Store Management page lets you upload and edit store information
You can upload spreadsheet files to make the following changes.
| Operation | Description |
|---|---|
| Create Store | Upload a file that contains all the information required to create a store. |
| Update Status | Update only the store status. This option is useful when a store is undergoing temporary closure, or when a store that has been closed is returning to active status. |
| Update Opening Closing Times | Update only the store hours. This option is useful for approaching holidays. |
| Update Store Holidays | Update only the dates of store holidays. |
| Update Store Information | Update general information about the store. This option can include status, opening and closing times, holidays, and so on. |
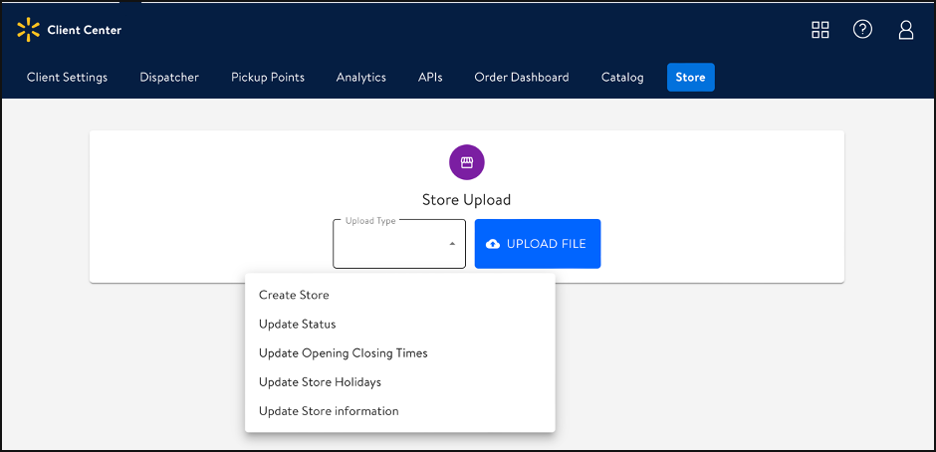
Figure 22. Store information is uploaded by file and based on the selected type of information
Select the option that represents the type of information you want to update.
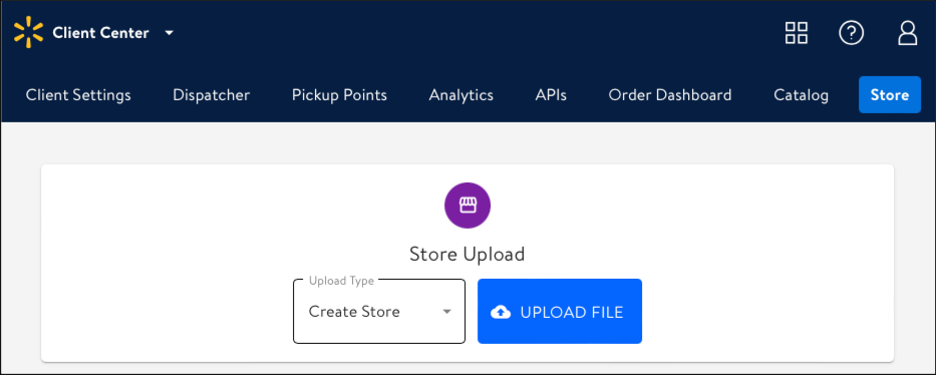
Figure 23. In this view, Create Store is selected as the type of store information to be uploaded
Click UPLOAD FILE and select the spreadsheet file from your hard drive.
Updated 11 months ago
